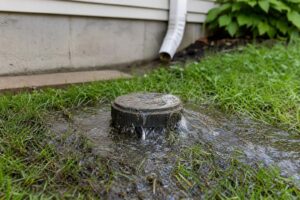
Grease trap cleaning is one of those unglamorous jobs that quietly keeps a kitchen running. If you’ve ever dealt with a slow drain, a sour odor, or a sudden backup, you already know why. A grease trap (sometimes called a grease interceptor) is a plumbing box that catches FOG (fats, oils, grease) and food solids before they reach your sewer line. That’s great. But it only works when it’s cleaned on a schedule.
In this guide, you’ll learn what a grease trap actually does, how the “25% rule” works, how to clean one step by step, and how to stay on the right side of inspections and disposal rules.
Best for: Restaurant and commercial kitchen operators who want fewer clogs, less odor, and smoother inspections through consistent maintenance.
Not ideal when: You have a large outside grease interceptor, severe backup, or you can’t dispose of waste legally and safely.
Good first step if: You’re unsure of timing, measure the grease and solids depth and compare it to the trap’s total liquid depth.
Call a pro if: You notice overflow, wastewater backing up, strong sewer odor, or repeated clogs that return soon after cleaning.
Quick Summary
- A grease trap separates FOG and food solids from wastewater so they don’t clog pipes downstream.
- The “25% rule” means you clean when grease plus solids reach about a quarter of the trap’s liquid depth.
- Cleaning isn’t just scooping. You also scrape, wash, inspect parts, and reassemble to stop leaks and odor.
- Odor, slow drains, and frequent clogs are early warnings. Overflow is an urgent warning.
- Logs and proper disposal matter because many local FOG programs check records during inspections.
What Grease Trap Cleaning is (and Why it Matters)
Grease trap cleaning removes the grease layer, food solids, and dirty wastewater so the trap can keep separating FOG from your drains. Inside the trap, incoming water slows and separates: grease floats, solids sink, and the cleaner middle layer exits through the outlet.
If you don’t remove the top and bottom buildup, that middle layer disappears. Grease and solids escape into your plumbing, causing slow drains, clogs, and backups. If you’re already battling a grease blockage, the trap is often the upstream source. See grease clog warning signs.
Cleaning also protects the trap’s components. The baffle, gasket or lid seal, and flow control device only work when they aren’t buried in sludge and the lid can seal tightly.
Grease Trap Cleaning Frequency (the 25% Rule + a Simple Schedule)
Grease trap cleaning frequency is best set using the 25% rule, which says you clean when the combined grease layer and solids layer reach about 25% of the trap’s total liquid depth. This rule matters because it’s based on how the trap functions, not guesswork or a calendar reminder you might ignore.
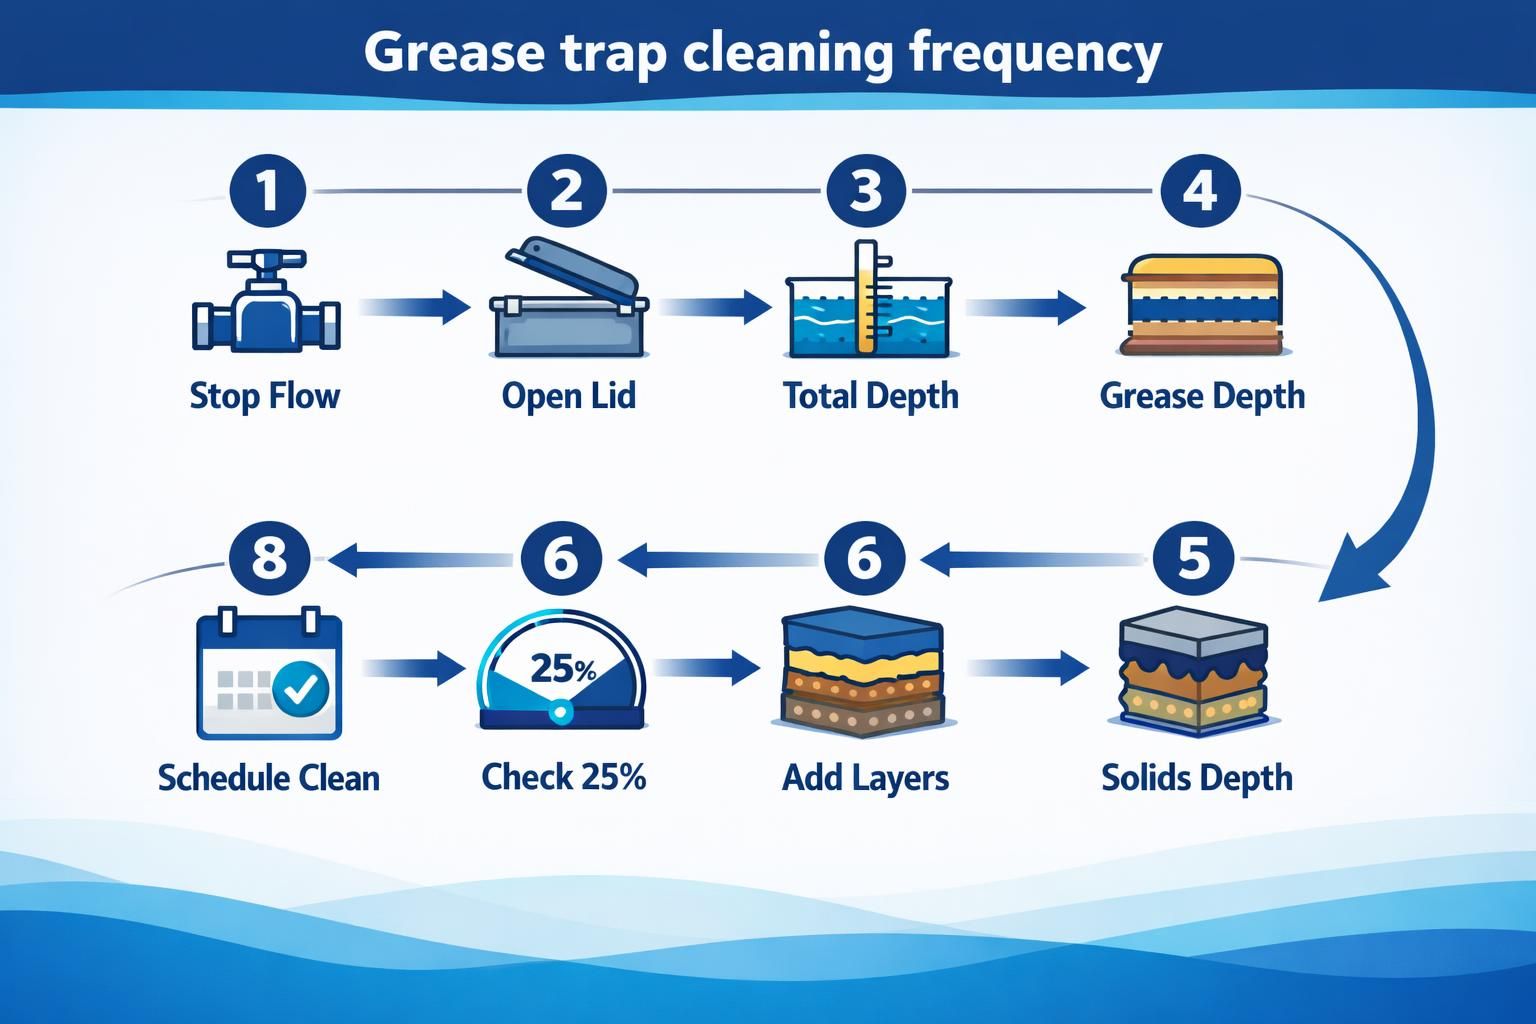
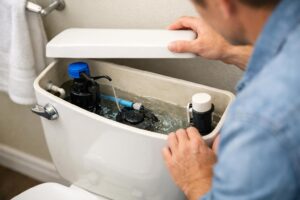
Here’s how to apply it in a simple way: 1. Turn off water flow to the fixture feeding the trap for a few minutes. 2. Remove the grease trap lid carefully so you don’t damage the gasket. 3. Use a measuring stick or dipstick to measure total liquid depth. 4. Measure grease thickness at the top and solids depth at the bottom. 5. Add grease depth plus solids depth. 6. If that total is near a quarter of the liquid depth, schedule cleaning now, not later.
Now, the schedule part. Many kitchens start with a conservative routine, then adjust based on real measurements. Grease trap sizing also changes the interval. A small under-sink unit fills faster than a larger interceptor, even with the same menu.
Recommended Cleaning Schedule by Kitchen Type
A workable starting schedule depends on how much FOG and food debris you send down the drain each day.
- Full-service restaurant: start with weekly or biweekly checks, then clean when the 25% rule says so
- Fast-casual or cafe: start with biweekly checks, and expect monthly cleaning if volumes are moderate
- Bakery or sandwich shop: start monthly checks, and watch solids from dough, icing, and food scraps
- School or cafeteria: check more often after high-volume days, events, or seasonal schedule changes
- Residential grease trap: start with quarterly checks, then adjust based on odor and layer depth
And yes, you can search “grease trap cleaning near me” when you’re overwhelmed. But even then, you’ll make better choices if you understand your own usage pattern.
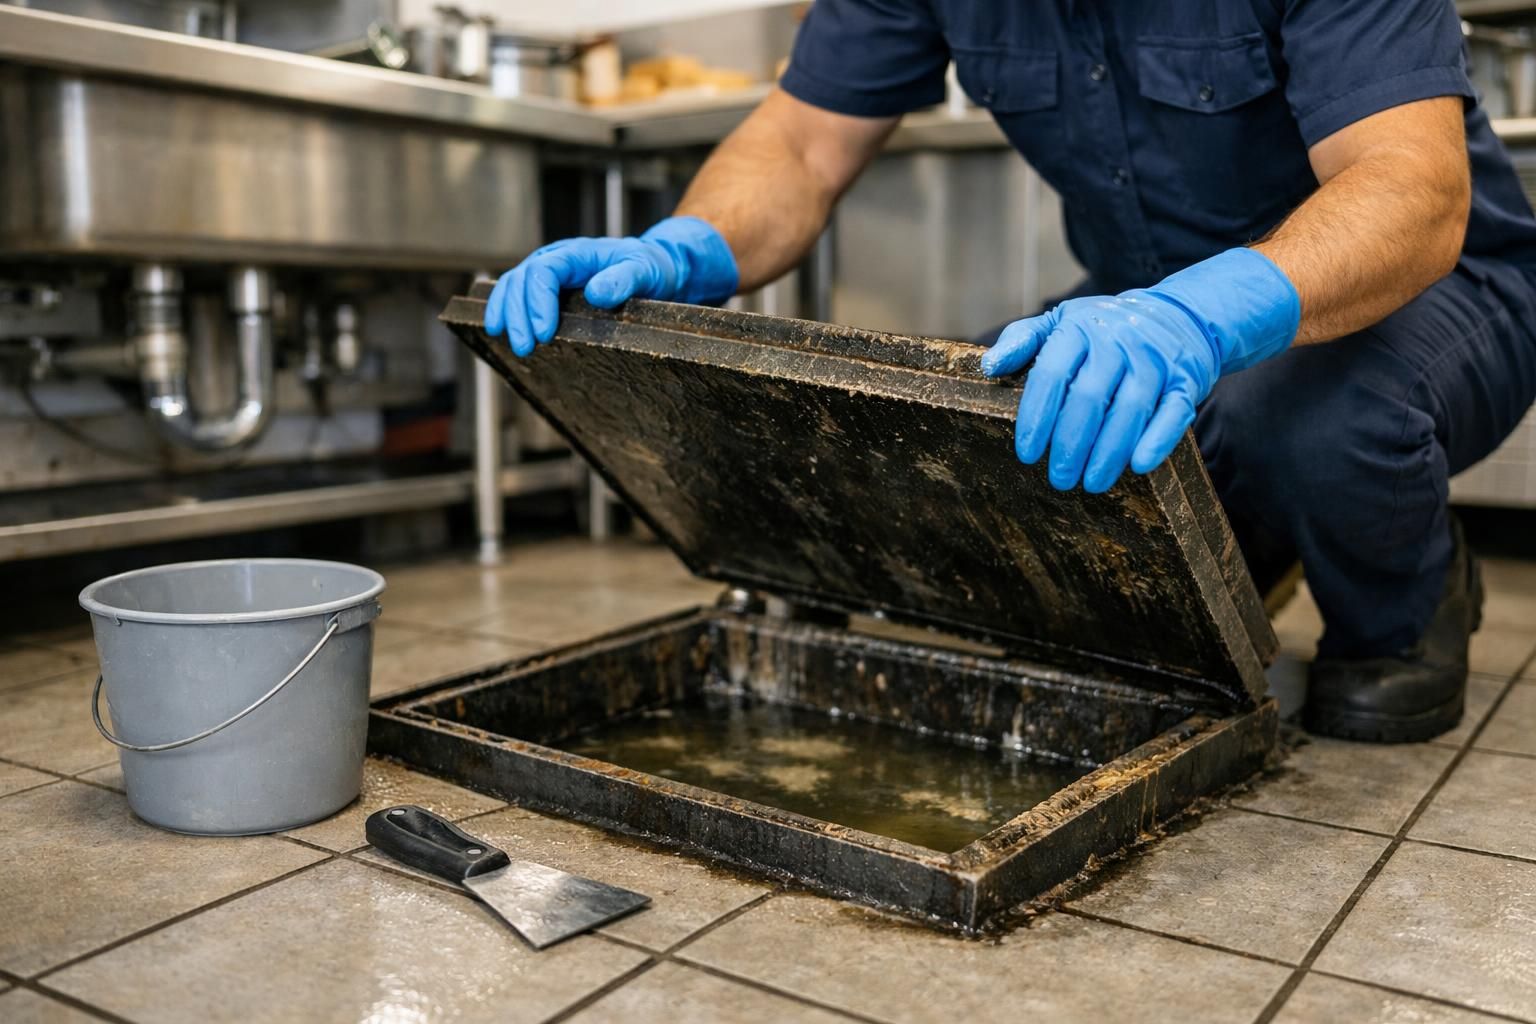
Grease Trap Cleaning Steps (DIY Checklist)
Proper grease trap cleaning means removing all contents, cleaning internal parts, and resealing the lid so odors stay contained. If you only scoop the top, the trap will keep failing and clogs will return.
DIY checklist: 1. Prep: clear space, ventilate, and keep food prep away. 2. Stop flow: pause dishwashing and any fixtures draining to the trap. 3. Open lid: loosen fasteners evenly to avoid warping. 4. Remove layers: skim grease, then scoop solids and sludge into a sealed bucket. 5. Clean parts: remove the baffle if accessible and scrub it. 6. Scrape walls: hit corners and sidewalls where grease sticks. 7. Wash and rinse: use warm water and a trap-safe degreaser. 8. Inspect: check gasket condition, baffle damage, and cracks. 9. Reassemble: seat the gasket and tighten evenly. 10. Test: run water briefly and check flow, leaks, and odor.
If it still backs up, the blockage may be beyond the trap and needs drain cleaning and repair.
Tools, PPE, and Supplies You’ll Need
You’ll need basic hand tools and the right PPE (personal protective equipment, meaning gear that protects your body from splashes and fumes).
- Bucket with a tight lid for waste
- Scoop or ladle for scooping and skimming
- Scraper or putty knife for scraping buildup
- Wrench or socket set for lid bolts and fasteners
- Shop towels or rags, plus trash bags or liners
- Measuring stick or dipstick for the 25% rule checks
- Grease trap cleaning solution or a mild degreaser, plus hot water for rinsing
For PPE, don’t skip:
- Chemical-resistant gloves
- Safety goggles, and a face shield if splashing is likely
- Protective apron
- Respirator or mask if odors are strong or you’re sensitive to fumes.
Signs Your Grease Trap Needs Immediate Cleaning
A grease trap needs immediate cleaning when it stops separating FOG and solids, letting buildup move downstream. The result is odor, slow drains, and repeat clogs because the grease layer is too thick, solids have piled up, or the baffle is restricted.
Red flags:
- Strong rancid odor near sinks, floor drains, or the lid.
- Slow drainage starting at one fixture, then spreading to others.
- Clogs that return within days.
- Gurgling as air struggles past buildup.
- Grease visible in sink water, floor drains, or cleanouts.
- Unusually high water level inside the trap.
If you see backup or overflow, you’re past maintenance and into damage control. Wastewater spreads bacteria and can create major inspection issues if it reaches public drains.
If clogs keep returning after proper cleaning, hardened grease may be farther down the line. In that case, professional hydro jetting can clean pipe walls instead of just opening a small channel.
Compliance, Record Keeping, and Proper Disposal
Grease trap compliance is about keeping FOG out of sewers and proving you maintain the system. Local rules vary, but inspections usually come down to whether your trap is being cleaned on time and whether you can show records.
Most violations come from two issues: missing documentation and improper disposal. Grease trap waste is a mix of grease, solids, and wastewater. You can’t dump it into a storm drain, a dumpster, or regular trash without proper containment and an approved disposal method. In many areas, that means using a licensed hauler or an approved facility.
Habits that keep compliance simple:
- Follow a realistic schedule and measure using the 25% rule.
- Train staff on what can’t go down the drain, including oil and food scraps.
- Use sink strainers and scrape plates before rinsing.
- Avoid additives that claim to “dissolve” grease and push FOG downstream.
If you suspect a problem beyond your building line, it becomes a sewer issue. See sewer cleaning and repair.
What to Document in Your Cleaning Log
A cleaning log is your simple paper trail that shows what you did, when you did it, and what you found.
Include these basics each time:
- Date and time of cleaning or inspection
- Who performed it (employee name or grease trap cleaning services company)
- Trap location and size, if known
- Measured grease layer depth and solids depth, plus total liquid depth
- Any issues found during inspection (baffle damage, gasket wear, cracked lid, blocked flow control device)
- What was done (scooping, scraping, washing, part replacement, reassembly checks)
- Disposal method and hauling documentation, if applicable
- Notes on odors, slow drain behavior, or unusual kitchen volume that week
Keep it somewhere you can grab fast during an inspection. If you’re managing multiple sites, a consistent template matters more than fancy software.
DIY vs Professional Grease Trap Cleaning (what to Expect on Service Day)
DIY can work for small, accessible under-sink grease traps if you’re consistent, use PPE, and dispose of waste legally. Professional cleaning is usually the better fit for busy kitchens, larger interceptors, or any situation where inspections and paperwork matter.
The key difference is completeness and documentation. Pros don’t just skim the top. A standard visit aims to return the unit to a known working condition and record what was done. On service day, you can usually expect:
- Lid removal with proper tools, without damaging bolts or the lid seal.
- Full pump-out or full removal of contents, not partial skimming.
- Scraping walls and cleaning the baffle plus inlet and outlet areas.
- Rinsing and a basic inspection for cracks, missing parts, or gasket failure.
- Reassembly and a quick flow test to confirm normal drainage.
- A service manifest or report for your files.
Choose a pro if you can’t track the 25% rule reliably, odors return quickly, access is difficult, staff routines are inconsistent, or the trap handles heavy daily volume. Costs are mainly driven by frequency, sizing, access, and contract versus per-visit service. Reducing FOG, measuring layers, and fixing small gasket or baffle issues lowers long-term cost.
Conclusion
Grease trap cleaning is simple in concept but picky in execution: remove buildup, clean parts, reassemble tightly, and document what you did. If you stick to the 25% rule, you’ll prevent most odor and clog problems before they start. And if you’re seeing slow drains, frequent clogs, or any backup, treat it as a signal to act now, not next week.
Your practical next step is to measure your trap’s grease and solids depth today and set a maintenance schedule you can actually follow. Done right, grease trap cleaning keeps your kitchen calmer, your pipes clearer, and inspections a lot less stressful.